Step-by-step instructions for adding a KartHost (Appriver) Hosted Exchange mailbox to your Outlook Email Client/Outlook on your Desktop or Laptop computer.
If all you are looking for is the IMAP (or POP3) Hosted Exchange Server Settings visit this page instead:
DNS Records for Hosted Exchange Full | Lite+ Plus | Lite
Prerequisites before starting setting up your Hosted Exchange Lite Mailbox on Outlook:
- The email address you are setting up (must be installed on the Hosted Exchange Server)
- Mailbox Password for the email address
- Have your Outlook version (Must have Outlook 2016 and newer)
- In Outlook click on File (top left) > Account Information page and click the [+ Add Account] now follow the steps below.
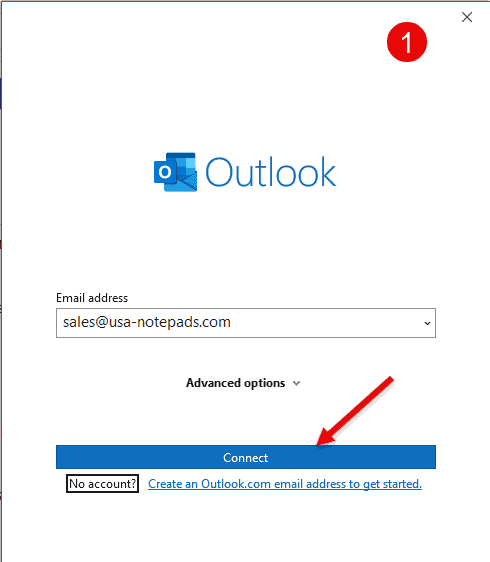
[STEP 1] On image 1 below type in your email address you are adding in the "Email address" field. Then click on the Connect button (it should have changed from gray to blue.
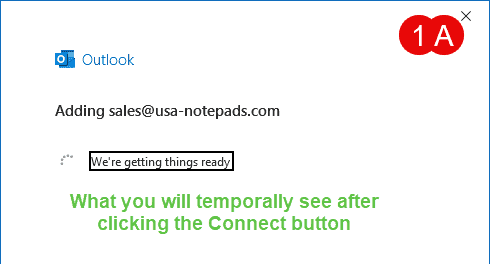
[STEP 1A] Once you click on the Connect blue button you will see the following:
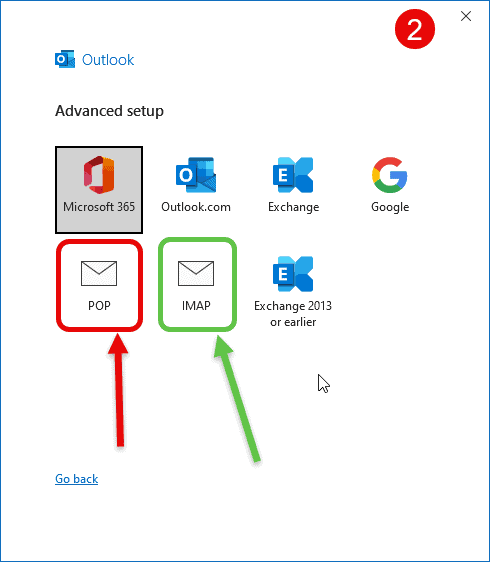
[STEP 2] The Advanced setup page will load, you will want to click IMAP (not POP)
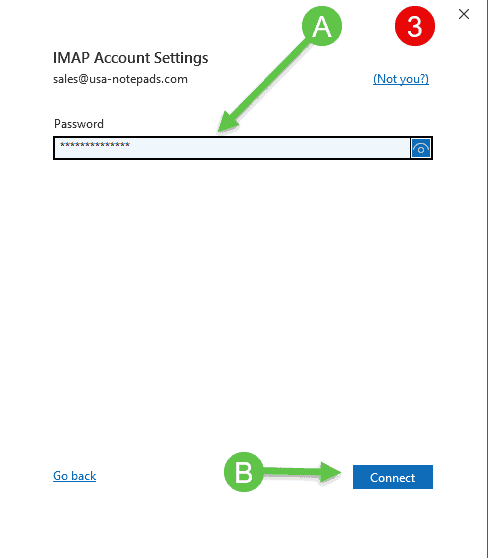
[STEP 3] On the IMAP Account Settings page confirm you have the correct email address showing and then (A) type in the "Password" field your mailbox password (the little blue square to the right that looks like an eye, click it to see the password you typed in.
(B) Click the blue Connect button.
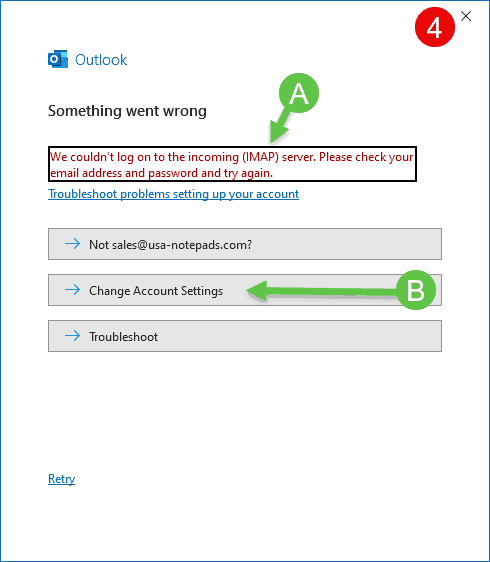
[STEP 4] Something went wrong - NO, (A) that is what you are supposed to see when setting up an IMAP service on Hosted Exchange service.
(B) Now click the "Change Account Settings" so you can type in the correct settings needed for IMAP (don't worry we give those to you in Step 5).
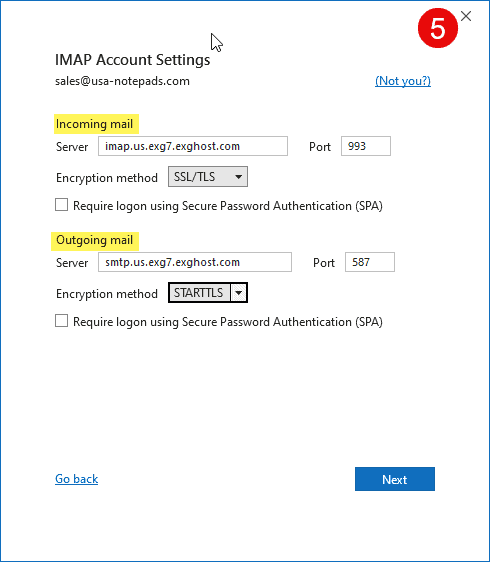
[STEP 5] This is where you provide the needed details to make your Hosted Exchange IMAP mailbox in Outlook.
Incoming mail
Server: imap.us.exg7.exghost.com
Port: 993
Encryption: SSL/TLS
Outgoing mail
Server: smtp.us.exg7.exghost.com
Port: 587
Encryption method: STARTTLS
Once set click the blue Next button.
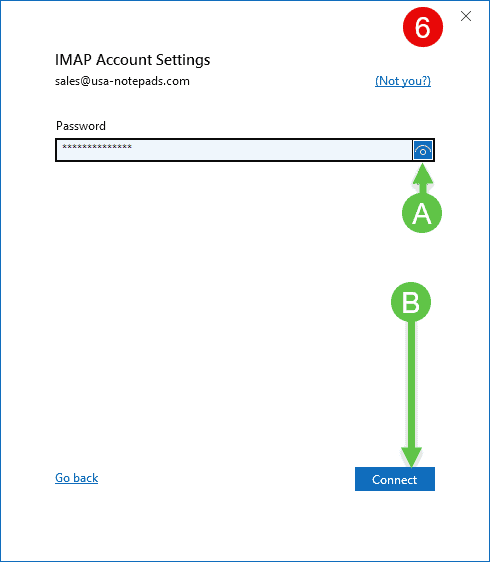
[STEP 6] This step (A) allows you to check to confirm your mailbox Password is correct.
(B) If you are satisfied Password is correct, click the blue Connect button to proceed with setup.
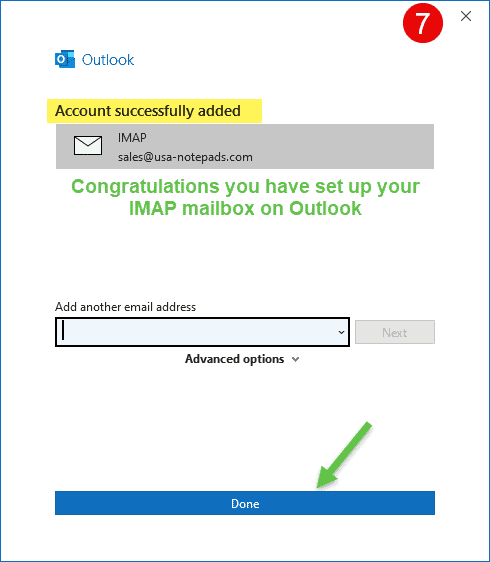
[STEP 7] If you provided all the correct information you will see "Account successfully added".
To complete the setup, click the blue Done button.
If you run into any issues setting up your mailbox Submit a Customer Server
Support Ticket we will be happy to help you. If you are not the owner of the
Hosted Exchange Email service, contact your local Admin in charge of your email
service to open the Support Ticket.
If you found this tutorial helpful to you please pass along a little love and give us
a thumbs up below. Thanking you in advance.
END OF TUTORIAL
Published December 3, 2023


