Before you start this process, make sure have the following ready:
- A Credit or Debit Card to add to your account, mainly for verification purposes (note: with the Mailgun Free Plan "Concept - Pay as You Go"
the first 10,000 emails that your website sends out are FREE at Mailgun. Most websites will never send more than 10,000 emails a month) - A Cell phone to verify your account via a text message that Mailgun will send you.
1) Then head over to Mailgun.com and from the home page click on "Sign Up"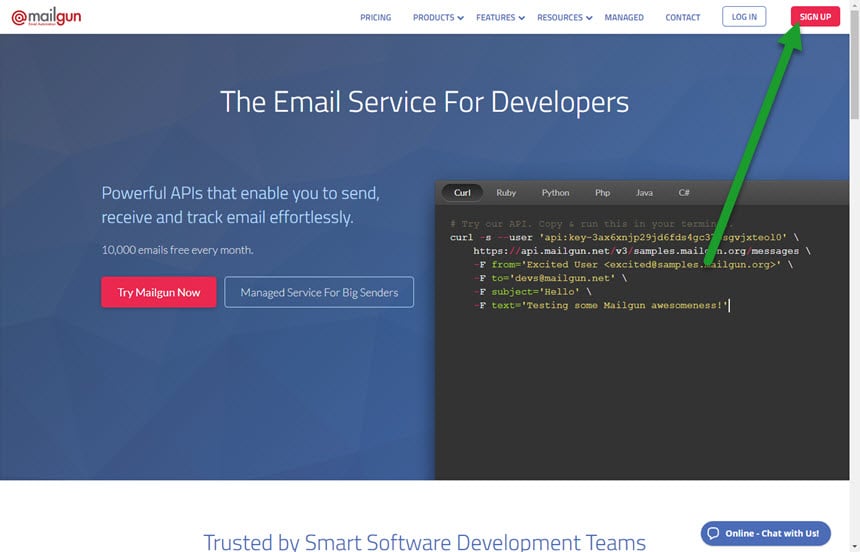
2) On the "Sign Up" (Getting Started With Mailgun Is Free And Takes 57 Seconds) page fill out all information. Remember you will not be charged anything on sign up. Supplying a Credit card just is another step to verify you are a real person, not an automated "bot" trying to obtain access to the very powerful Mailgun system to send spam. Remember you get 10,000 emails PER MONTH. Most websites will send very few emails every month.
Once you have the Page filled out click "Create Account" button.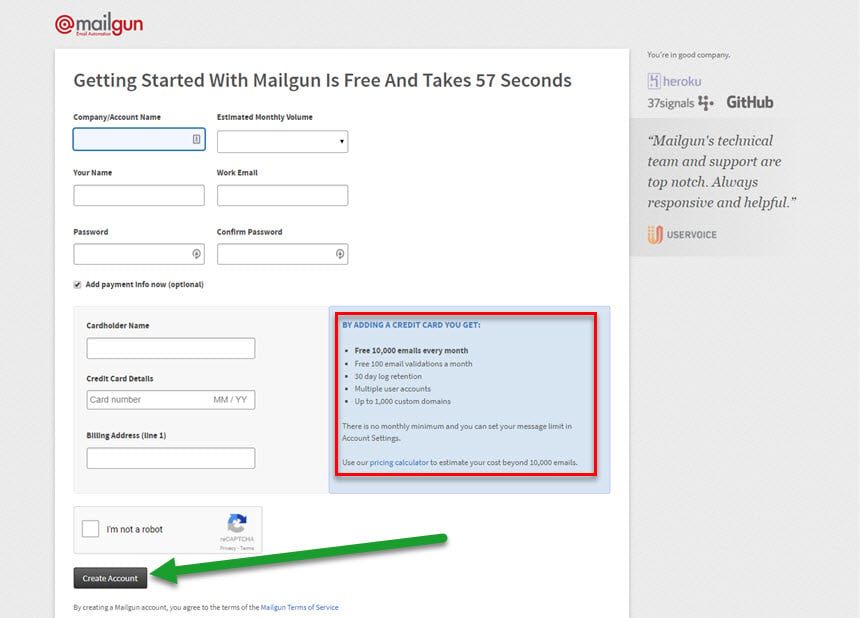
3) After you have clicked the "Create Account" button, you will see the A) green "Success!" banner across the top of the page. B) At the Very Top of the page, you will see a yellow banner to let you know you need to activate your Mailgun account. An email will have been sent to the email address you used to set up your account. So go check your email now for an email from Mailgun (Not KartHost).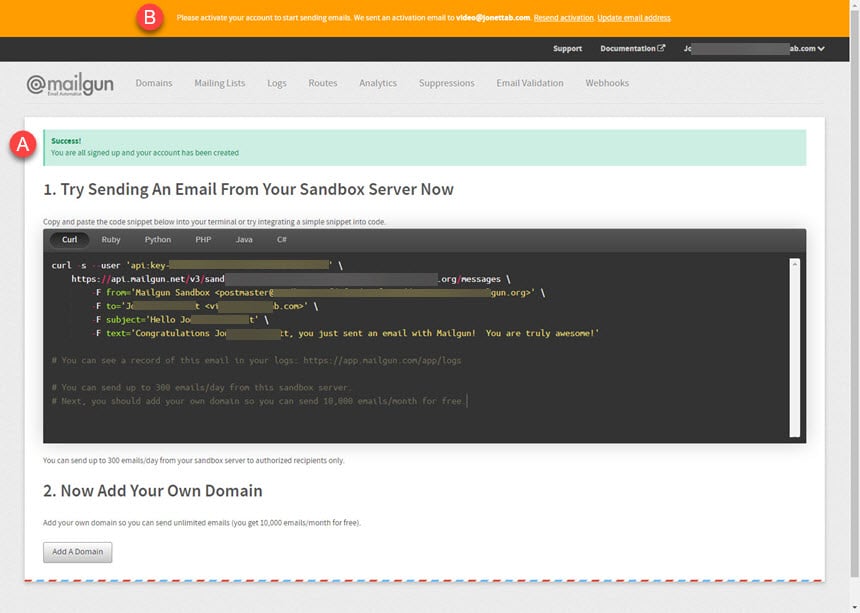
4) You will receive an email similar to the one below from Mailgun asking to "Please verify your Mailgun account". To verify the account simply click (tap) on the link in the email.
TIP: If the link in the email is not clickable (tappable) then you will need to copy and paste the ENTIRE link from your email into your Webbrowser Address Bar (do not do a search, Google will not find any results on this link).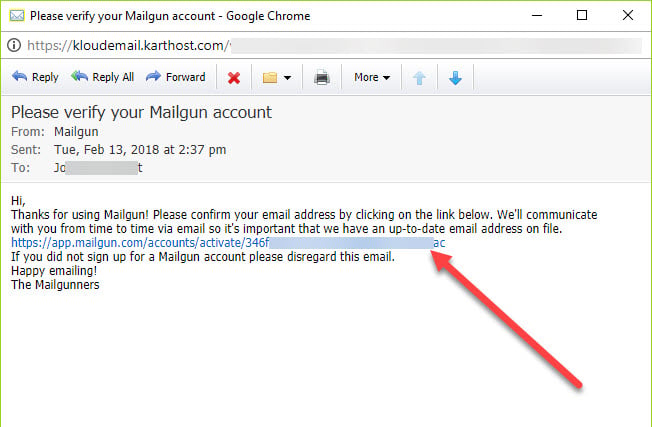
5) After you click on the verification link in the email you receive from Mailgun a web browser will open to the Mailgun Account Verification page and A) you will need to place the phone number in which you can receive a Text (SMS) Message. And then B) click the "Send Verification Code".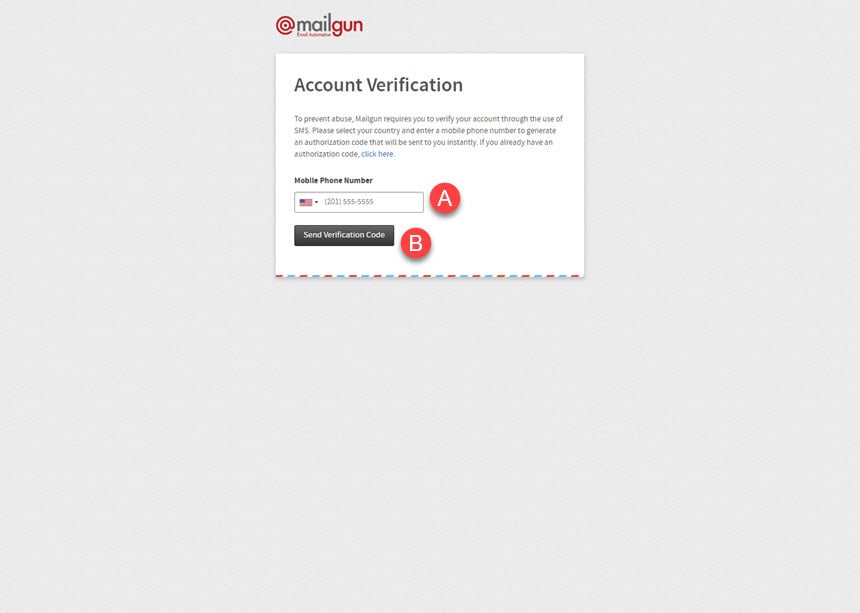
6) An SMS Text will be sent to you at the number you provided. Type that verification code into the Verification Code field on the Mailgun web site and then click the Validate button.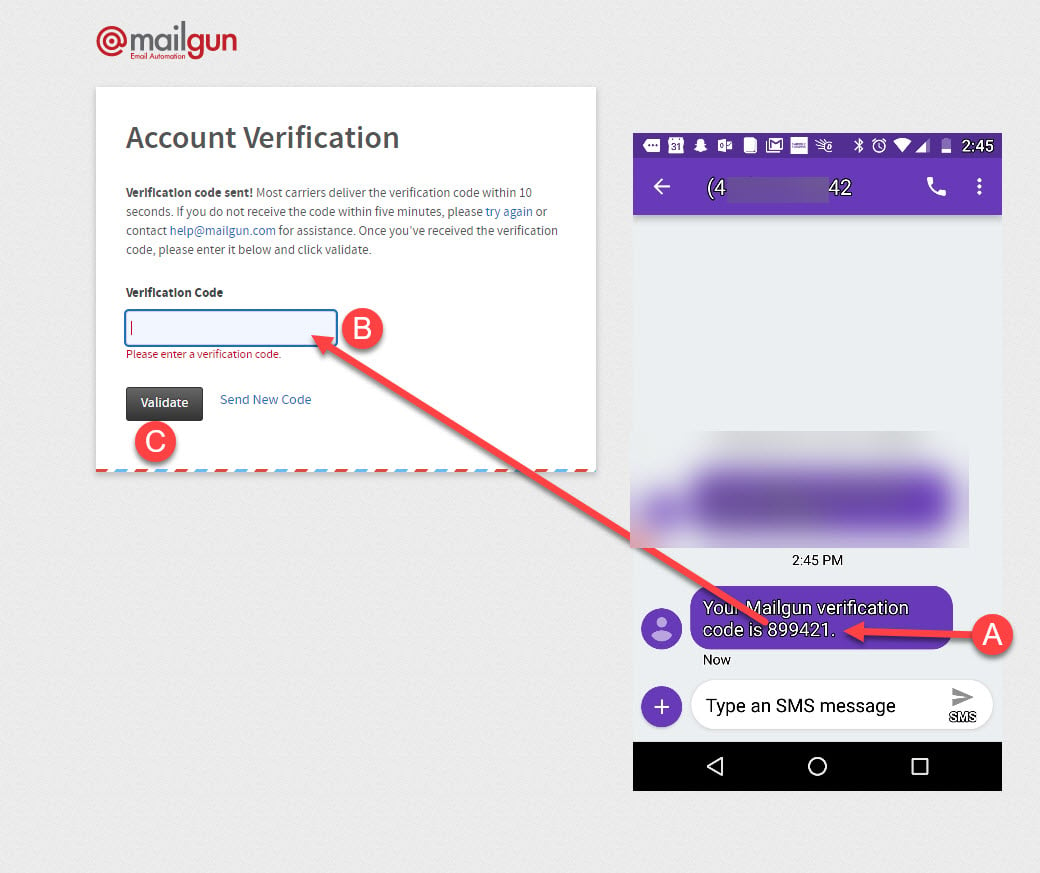
7) The next thing you will see is a page that will have a green banner across the top, like in the image below, that says "Thanks for activating your Mailgun account".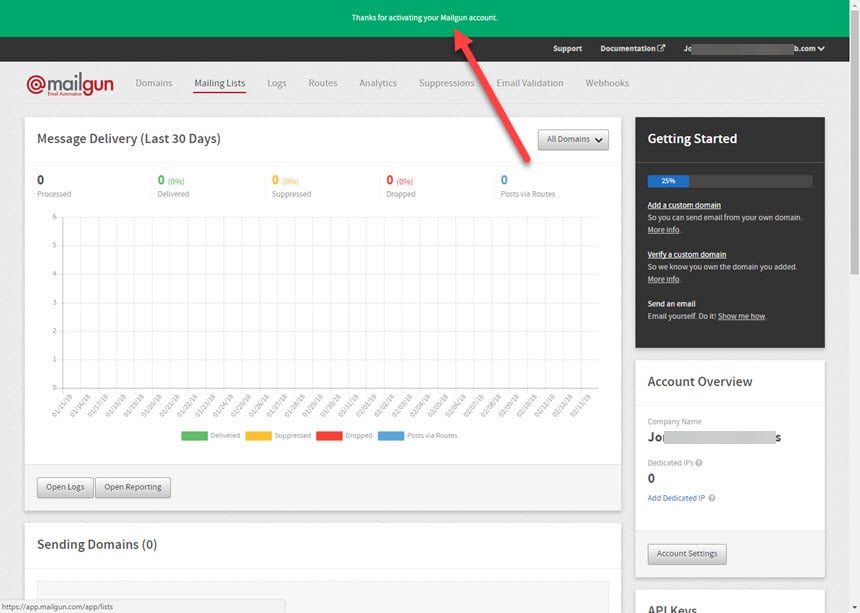
STOP HERE - IF YOU HAVE A MANAGED WORDPRESS HOSTING or the EZWP BUILDER Package at KartHost or a KartHost personal asked you to set up the account, please provide them with the login details in a secure Support ticket in the SECURE CONTENT BOX and from this point we will take care of setting up Mailgun on your WordPress powered website so it can send emails reliably.
If you would like our Support Team to setup Mailgun on your WordPress powered website (using POST SMTP) then please provide your Login Details in your KartHost Customer Center Password Manager. Then notify a KartHost Support Team member and we will be happy to set Mailgun up for you. To do this you might want to review this Tutorial:
Adding My Mailgun Login Details to my Password Manager
If You have Self-Managed WordPress Hosting or wish to Set Up your Mailgun Account with the POST SMTP WordPress plugin yourself, recommend you view this KartHost Knowledgebase Article: POST SMTP WordPress Plugin Setup with Mailgun API


